Secure your login with multi-factor authentication
Multi-factor authentication (MFA) is an authentication method in which a computer user is granted access to an application only after successfully presenting two or more pieces of evidence (or factors) to establish identity. Because logging in with MFA requires that you have access to a separate physical device, the risk of a potential intruder gaining access to your account is much lower.
How does MFA work?
When signing into an application with MFA, you will be prompted to enter your email and password as well as a temporary authentication code from the connected MFA device's authenticator app.
Setup MFA for your user login
Before you begin these steps, first verify that you have an authenticator app installed either on your mobile device or laptop/desktop computer. If you don't, install one now.
If you have never setup MFA for your login, you will be guided through the process upon your first login attempt. After entering your username & password on the Login screen, the next screen will prompt you to setup MFA. Using your authenticator app, you will scan the QR code, then enter the 6-digit code the authenticator app generates in the "authentication code" box. That's it!
If you have completed this process and are not able to login, contact support@delivra.com immediately.
Sending OTP via Email or SMS
While an authenticator app is the recommended method for one-time passwords, Delivra also offers the option to have your OTP sent to you via SMS or email. Both of these options are available by clicking on the Send via email or SMS link on the Enter Code page:
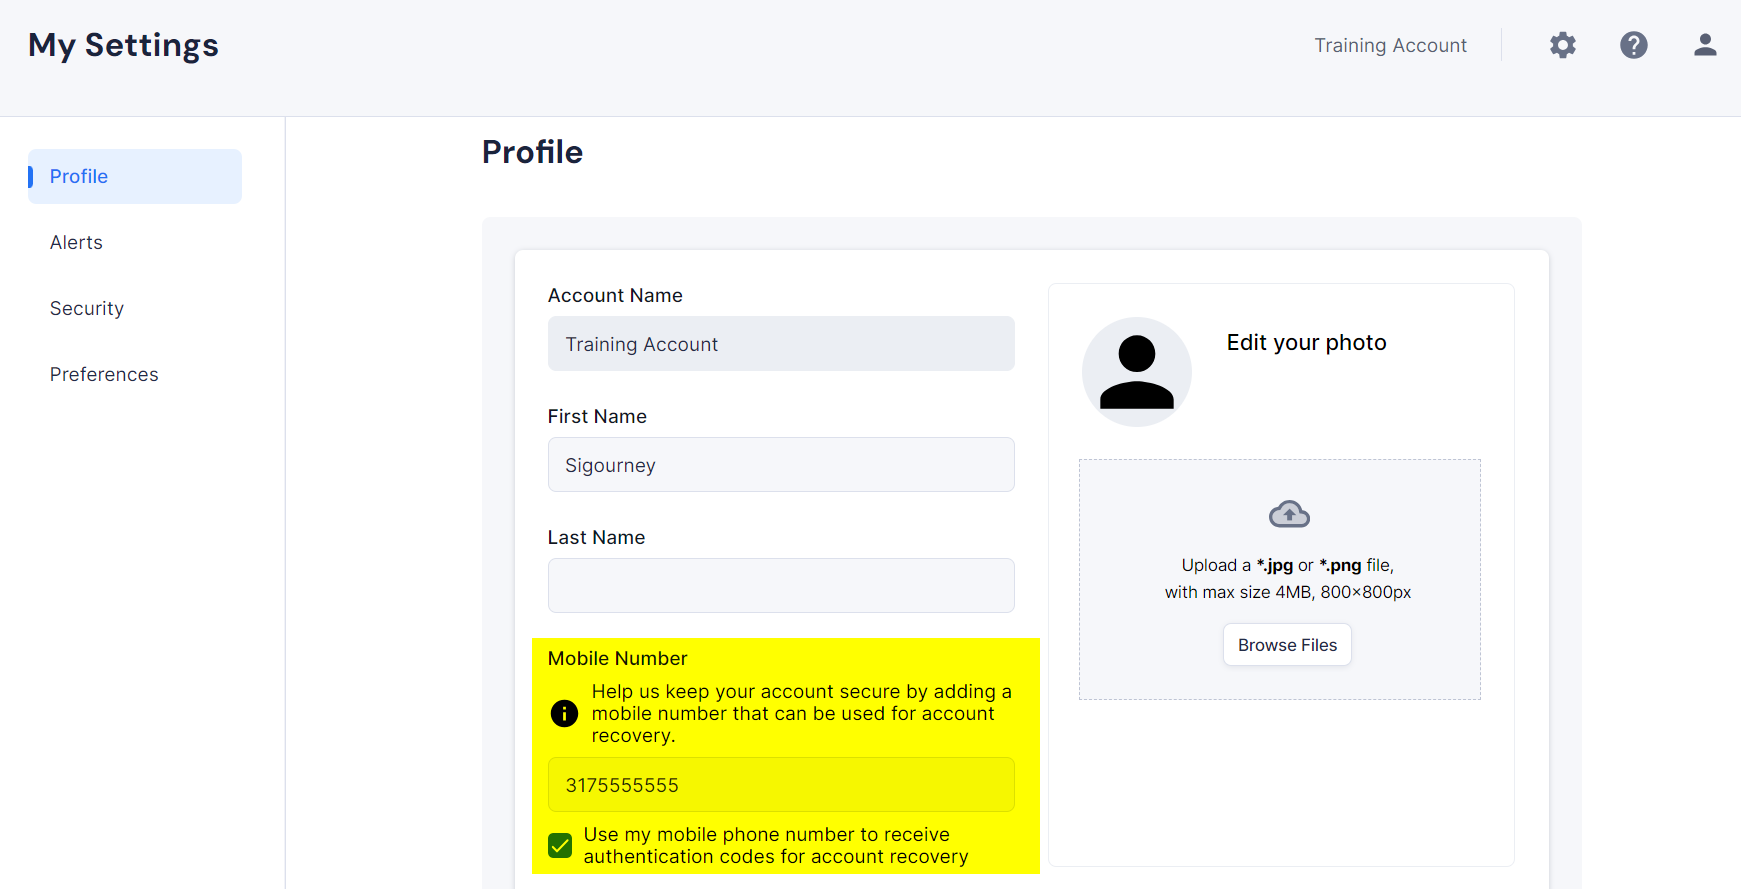
Sending a code to you email address is always available, but sending a code via SMS is only available if you have added your phone number to you Delivra profile. To update your profile with your phone number:
- Login to Delivra, then click the User icon located at the top-right of your screen.
- Choose My Settings from the menu.
- Enter your mobile number in the box provided then click the Save button.
Update MFA to use a new device/app
If you have a new phone, or you need to use a different/new authenticator app for login purposes, you can easily remove the existing MFA connection from your user profile and replace it with a new one. Before you begin:
- You will need the old device/app to login initially and then the new device/app to complete the steps to connect MFA to your new device.
- You will need an authenticator app of your choice installed on the new device. The free authenticator apps we recommend using are Google Authenticator (iOS/Android) or Authy.If you are not permitted to use your mobile phone to authenticate, or prefer to use your desktop computer, download the extension for Google Authenticator compatible with Google Chrome, Firefox and Microsoft Edge.
- If you have lost your MFA device & need to connect a new one, you will not be able to follow the steps outlined here. You should contact Support immediately for assistance. Support will verify your identity & reset MFA on your user profile. Then, you will need to go through the MFA setup steps.
- Click the user icon located in to top-right corner of your Delivra homepage.
- Choose My Settings.
- Click "Security" from the left menu.
- Scroll to find the MFA section & click "Remove MFA Device".
- You will be asked to provide two consecutive codes from the authenticator app on old device.
- Click the user icon located in to top-right corner of your Delivra homepage.
- Choose My Settings.
- Click "Security" from the left menu.
- Scroll to find the MFA section & click "Setup Device".
- A pop-up will provide information about supported authenticator apps, like Authy. If you're resetting MFA for a new device, you already have an authenticator app installed, so click "Next" to continue.
- Using your authenticator app, scan the QR code that's displayed on-screen in Delivra. Your authenticator app will start generating codes immediately & will cycle every 30 seconds.
- Enter two consecutive codes in the boxes on-screen. You may need to scroll down the page to find the code input boxes.
- Authentication Code #1 (1st code)
- Authentication Code #2 (2nd code)
- Click "Ok" after two codes have been entered.
- The MFA status will update to "Connected" on-screen.
Important security notes
- Once MFA is enabled, your account can only be accessed after entering a code from your MFA device. If you do not have your MFA device with you, you will not be able to log into Delivra.
- If your MFA device is lost or stolen, contact support@delivra.com immediately. Once your identity has been verified, access to your account will be restored & you will need to walk through the MFA setup process upon next login.
- Support will never ask you for a MFA code and, like your password, you should never share MFA codes with anyone.
FAQ
What is a MFA device?
Why is Delivra requiring the use of MFA for users?
Am I required to use my mobile device?
No, you are not required to use your mobile. Popular MFA apps like Google Authenticator & Authy have desktop downloads or browser extensions available. Watch the setup process for the Authenticator extension compatible with Google Chrome, Firefox and Microsoft Edge.
What happens if I lose the device with the MFA app?
Do I need to setup MFA for API administrators?
Do I have to enter the MFA every time I login?
You will notice a checkbox on the Enter Code to "remember this device". Your device will be remembered and will not require MFA code unless/until your browser history has been cleared.
Related Articles
Manage system users & roles
There are two types of users in the system: Site administrator and Account administrator. An administrator is a person who can login and perform tasks in your Delivra account. What is a site? Delivra uses the term Site to describe the way our system ...Manage your personal user settings
You can manage user settings to control your personal preferences for which alerts you receive from the system, what shortcuts you see within the system, and more. To access your user settings, click on the user icon located in the top-right corner ...Manage general account settings
General account settings apply to your entire account and these settings include your account's time zone, default segment selection for campaigns, a global reply-to setting for campaigns, and more. To get there, click the Settings icon in your ...Manage brand colors & custom web fonts
Save colors & fonts to your account(s) so that users can easily access your brand styles when designing your emails. Brand colors & fonts configured to your account are available in any drag-and-drop designer in the system. Add your brand colors Tip: ...Customize campaign click tracking and hosted content domains
Improve subscriber trust and deliverability by customizing the domain used to track your email activity and content. Create up to four customizations to support forms, landing pages, click tracking and assets (online version and media files). What is ...